Connecting your personal domain to your IndieMade shop involves three easy steps and includes a free SSL certificate for your domain. First, you'll connect your domain name to your IndieMade URL by adjusting a thing called a CNAME. Next, you'll set up a www redirect or forward on your domain registrar to ensure anyone who types your domain name without "www" still lands at the right place. Last but not least, you'll add your domain name to your IndieMade account at account.indiemade.com.
- Update your CNAME: Add a CNAME record on your domain name provider that points to your IndieMade URL.
- Add a www redirect: Set up a www redirect or forward on your domain registrar, so anyone who misses the "www" when typing your domain still gets to www.yourdomain.com.
-
Add your domain to your IndieMade account: For this step, you're going to visit account.indiemade.com. Now, keep in mind, your login details for this section might be different from your usual IndieMade site. So if you can't remember them, don't sweat it! You can easily reset your password just like you would on your main IndieMade site. Once you're logged in, you can add your personal domain to your account settings.
Not sure what a domain registrar is? No problem! A domain registrar is simply the company where you bought your domain name. You know, that unique web address (like www.yourshop.com) you picked for your awesome IndieMade site. If you're drawing a blank on where you purchased your domain, think back to where you might have set up your website or paid for your domain name. It might be a place like GoDaddy, Google Domains, or Namecheap. And if you're still not sure, you can do a quick search online for a 'WHOIS' lookup to find out where your domain is registered. Just type 'WHOIS' followed by your domain name into a search engine, and you'll find your registrar listed in the results.
Let's Break It Down: Step-by-Step Guide
-
Updating your CNAME:
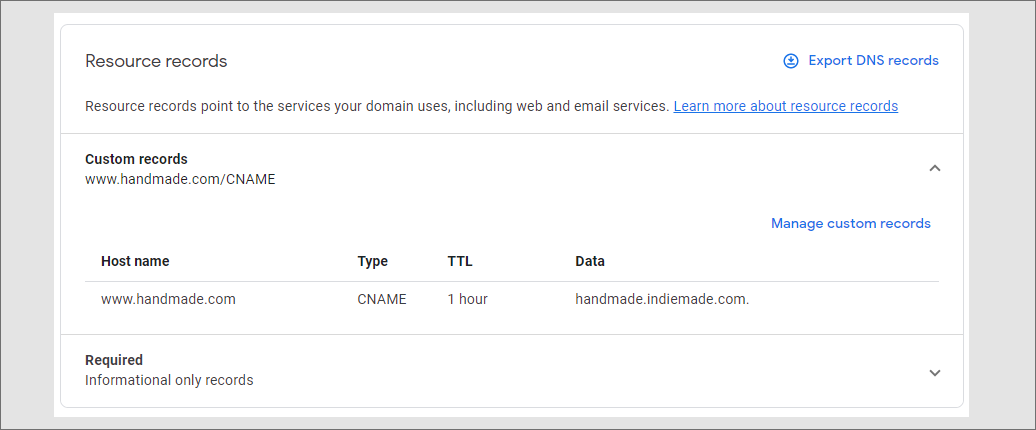
This is a small tweak to your domain name settings. It's just a way to direct internet traffic to your IndieMade shop. Here, you're adding a CNAME record for 'www' that points to your IndieMade URL (like yourshop.indiemade.com). For instance, if your domain is www.handmade.com on Google Domains, you're directing it to handmade.indiemade.com.
-
Adding a www redirect:
Think of this like giving internet visitors directions. If they forget to type the "www" before your domain (like yourdomain.com), this ensures they're automatically guided to www.yourdomain.com. The exact name of this setting can vary - web forward or redirect are common terms - but the idea is the same. If you're having trouble finding this option, don't hesitate to ask your domain provider for assistance.
-
Adding your domain to your IndieMade account:
For this, you'll be visiting account.indiemade.com, which is a different part of IndieMade where you manage your subscription and domain settings. Here, you'll log in and add your personal domain to your site details. Remember, this is separate from your own IndieMade site. On your user page https://account.indiemade.com/user Click 'Edit site details' Enter in your Custom URL in the following format http://yourdomain.com. IndieMade will add the www and the https:// at your site when we install the domain.
By following these simple steps, your personal domain will seamlessly connect to your IndieMade shop, making it easy for your customers to find and enjoy your work. As an added bonus, we'll automatically install a free SSL certificate for your domain! Please note, it could take up to 24 hours for all these changes to take effect, so don't worry if it doesn't look right immediately.
Just to give you a visual, here's what a correctly set up CNAME entry looks like in Google Domains. In this example, the custom domain www.handmade.com is all set to lead straight to the IndieMade URL handmade.indiemade.com.
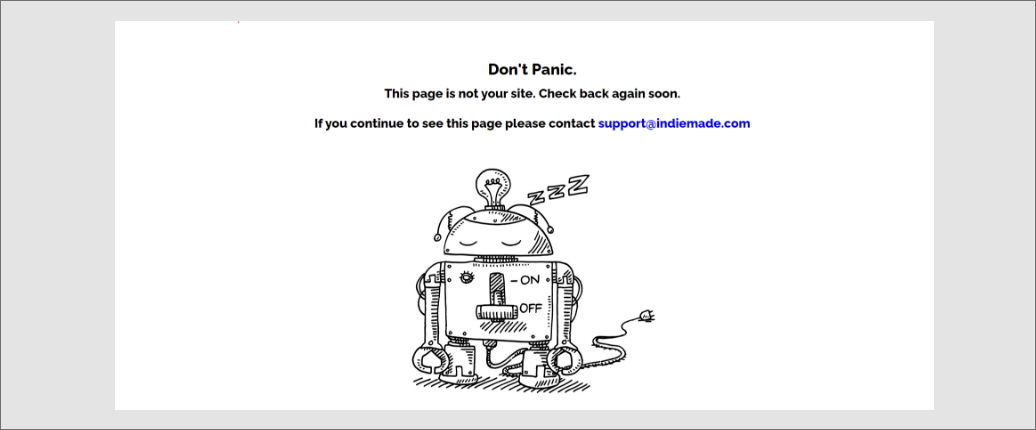
Seeing the page shown below? Great job! This typically means you've successfully pointed your domain to IndieMade and we're just setting things up on our end, including the installation of your domain name and SSL (Secure Lock icon in the browser). If this page persists for more than a few hours, it's time to give us a nudge. Please contact our support team so we can ensure everything is progressing smoothly.
Help I'm Stuck!
Contact support and ask for help. We'll do our best to help. Please keep in mind:
- We cannot access your domain registrar account.
- Setup of a custom domain is completed with the domain registrar, not on IndieMade.
- There is not a setting on IndieMade to set up a custom domain with your registrar.
- Once a custom domain is fully completed and working correctly, we can install an SSL security certificate. This step is not related to the setup of a custom domain.