 I personally find a lot of joy in creating and, even more so, in sharing my creations with others. I love it when I get a wild hair to try something and realize that it would be a perfect tutorial to write up for my blog. (Stumped when trying to think of interesting blog content? Visit IndieMade's Blogging resource articles for some great ideas on what to include!)
Adding tutorials to your blog or sharing them on social media is a great way to promote your indie business. By sharing a how-to process with your readers, you not only establish yourself as an expert in your field, but you're passing along great how-to information for folks who love to DIY, and driving more traffic to your site.
But how do you go about putting those fabulous ideas onto paper? Better yet, how do you get that fabulous idea into the eye of the public, so that the right people are enjoying them?
It’s really not as hard as you think! Everybody wants to be inspired. Information seekers are looking up and down the web for people just like you to get their juices flowing.

How To Build an Artist Website
Sign up for our newsletter and get the book How to Build an Artist Website for free!
Follow these steps to write a great tutorial that you can share with others:
Step 1: Choose Your Topic
The first step is to choose a topic you're excited to write about. Choose a topic in your area of expertise, and decide what skill level you're targeting.
Step 2: Gather Your Tools
Begin with the tools to create your project. Make a list of all the tools needed to make your creation, gather them up, and take a photograph of them. Give your readers as much information as possible on where they can purchase the tools they'll need.
Step 3: Take a "Before" Photo, If Needed
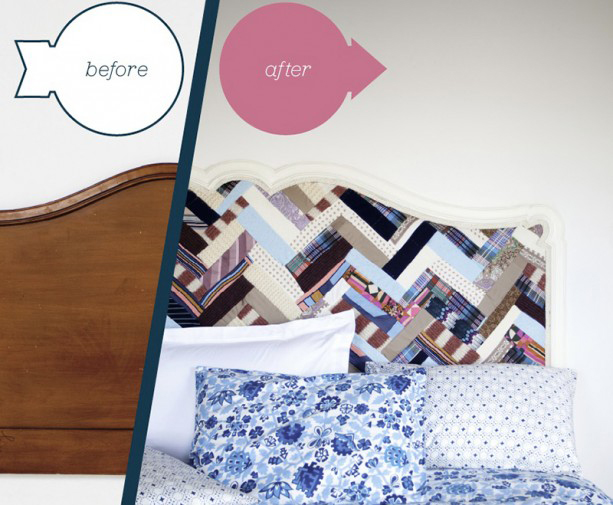
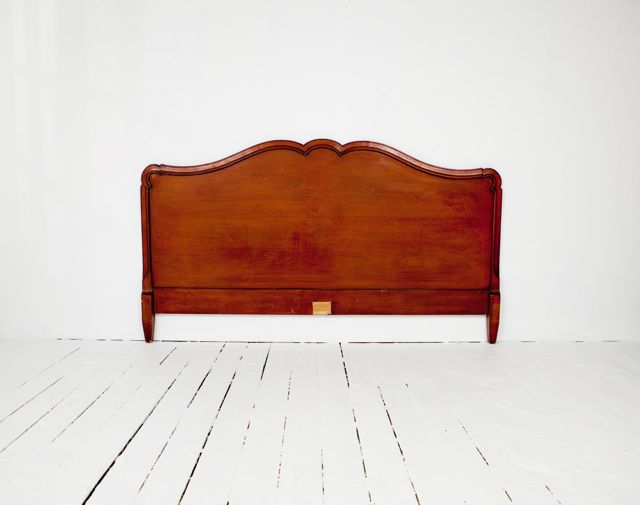
Take a clean shot of your "before" piece, if you're writing a tutorial for embellishing or upcycling an existing item. You’ll want your audience to see how far you’ve come when you are through.

A good "before" shot shows your readers how to start their project.
Step 4: Write, Photograph, or Film Each Step
To begin your tutorial, you will need to think through each step that you take when creating your project. Make a materials list, in addition to that tool list, for your end user. What will they need to have on hand or purchase to create your project? Where can they easily purchase those things? Keep in mind, your users may not be local to your area. Try and be as broad as possible on where they might find those materials across the country, online, or even internationally.
Depending on your expertise, you might need to enlist a photographer friend to help you take photos during each step of your demonstration. I redesign furniture, so when I am demonstrating how to hold a tool or how to pull fabric a certain way, I need assistance in capturing that on film.
One way to duck the need for a photographer is to take video instead. If you decide to go this route, I would highly suggest using two video cameras on tripods. One camera should be pointing down at your project, and the second should be pointing directly at you. That way, the camera will capture all of your movements if you stay within that frame.
Logically go through each step, write it down, and capture each important step on film. You want your readers to feel like they are right in the room with you when you are explaining your steps to them. You can (and should!) inject some of your own personality in your writing. Readers can get to know you in addition to your expertise. Keeping that in mind, you just might develop a following along the way!
Once you have finished all of the above, you should have worked your way through a fabulous tutorial. If it’s possible, it really helps the readers if you can stage the finished product in the way that they might use it. This isn’t always possible, but readers sure do appreciate it when you do!

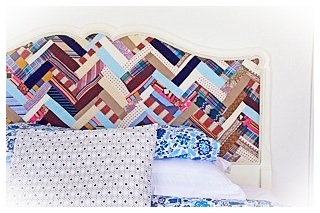
Staging your "after" shot — for example, showing a decorated headboard atop a
nicely made bed — helps readers envision your product in their own life.
Step 5: Share Your Tutorial
Now that you have a great tutorial, how can you share it with people that will appreciate it? Start with your blog, whether it's hosted on IndieMade or another blogging platform. I like to size each of my images to about 500 pixels when posting on my IndieMade blog. Be sure to name your image files descriptively, instead of using the generic filenames like Picture1.jpg, to help maximize your search engine optimization.
If you do not have a big following on your blog yet, then have no fear! There are many places that you can begin to create that following and then lead them all right back to your site when you are through. My favorite suggestions are to also create a Tumblr blog and to make YouTube videos to share with the public. These tools have a built-in following, so if you create something fabulous, you will likely create a following too.
Finally, look for other, more established bloggers who post or link to others' tutorials. You’d be amazed at how many people out there want to share your information for you. All it takes is a little bit of legwork and time getting to know your audience and industry.
With all these steps in mind, you will be on your way to not only sharing your expertise with the world, but also helping to brand your business along the way!
Click here to see an example of a well-documented tutorial that I wrote for Readymade Magazine on “How to Redesign a Vintage Headboard.” If you are interested in learning how to redesign your own home and things you currently already own, then check out my latest project on IndieMade at www.indieredesigner.com.
Check out IndieMade's Blogging resources for more tips on making your blog posts more meaningful, sticking to a blog posting schedule, and turning your artist blog into a great marketing tool to sell art online.


