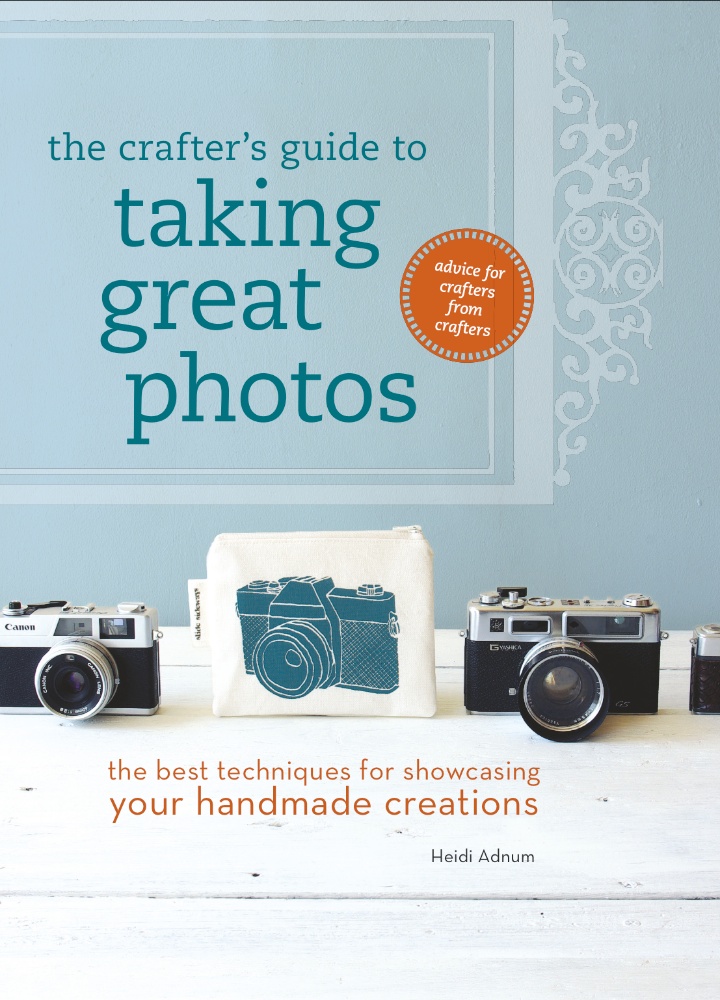
.jpg) Unless your craft is photography, you've probably struggled with how to take product shots that convince customers that they simply must own your work. Heidi Adnum feels your pain — her book, "The Crafter's Guide to Taking Great Photos," is loaded with tips on how to improve your photography even if you're not an expert. In her book, the Australian photographer and author discusses every aspect of how to take product shots, from getting lighting right to staging your photos so your customers can imagine your products in their homes.
Unless your craft is photography, you've probably struggled with how to take product shots that convince customers that they simply must own your work. Heidi Adnum feels your pain — her book, "The Crafter's Guide to Taking Great Photos," is loaded with tips on how to improve your photography even if you're not an expert. In her book, the Australian photographer and author discusses every aspect of how to take product shots, from getting lighting right to staging your photos so your customers can imagine your products in their homes.
Heidi recently took a few moments to talk about the challenges of taking great photos with IndieMade:
Why do you think so many crafters struggle with how to take product shots?
From my own experience, research, and also from what crafters have shared with me, I think product photography can at times be a struggle because it's made up of so many important elements, none of which can be ignored. That is, it's not just about lighting, styling or knowing your camera, it's about all of them — and more. I think lighting is a challenge. And so is choosing backgrounds.
The good news, however, is that, with greater learning, practice and time, we can improve our skills with each of these important elements. Eventually, it will all come together and product photography won't be such a struggle.

How To Build an Artist Website
Sign up for our newsletter and get the book How to Build an Artist Website for free!
As a crafter, what's the one most important thing that you should do first to improve your photography?
I would say that the one most important thing to improve our product photographs is to gain an understanding of soft natural light. (note: Heidi discusses this in great detail in her book!)
 What do you think are the most difficult products to photograph well? If you're a crafter who makes those products, what can be done to improve your photography?
When it comes to photography, every product has its own set of challenges. For example, large products can make background selection difficult, and small products can become lost in the frame. The key to coming up with a workable solution is to keep it simple. Simplicity might mean choosing a more subtle and complementary background, such as a seamless white background. It might mean removing distractions, or trying out some new props and styling.
When trying to figure this out, we can become so frustrated that it's important to take a break. We then need to find the motivation to continue when we're refreshed and feeling positive and inspired.
When considering how to take product shots, crafters often hear a lot of conflicting advice regarding backgrounds. Some experts advise using a totally plain, white background to keep focus on the product, while others advocate showing the product in a well-styled environment. Which do you recommend?
A neutral background is recommended so often because it suits every product, is easy to create, and is attractive in so many situations (press use, blogs, online shops, etc.). A well-styled environment (also called in situ or editorial) is often recommended because it can be really inspiring to the customer. So, which to choose? There's no right or wrong answer.
I recommending going with your gut; I think the crafter knows what she likes best. If you really don't know which one to choose, I recommend starting with a neutral background, such as white paper. It will take you the least amount of time and will be useable in almost all situations (press, etc.) Then, if you're still unsure, try a simple in situ styling. You can then choose which option best suits your product, or use both photographs. What I don't recommend is trying to achieve a pure white (or black) background, as it can be very harsh.
Read more about Heidi and her photography tricks at heidiadnum.com or her blog, la isla blogita.


