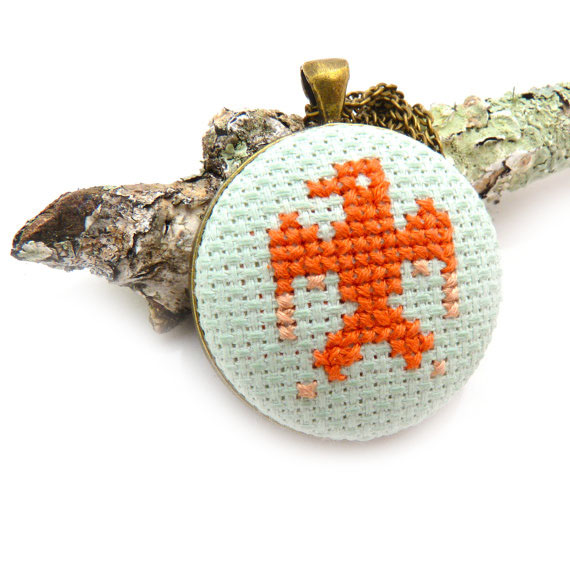
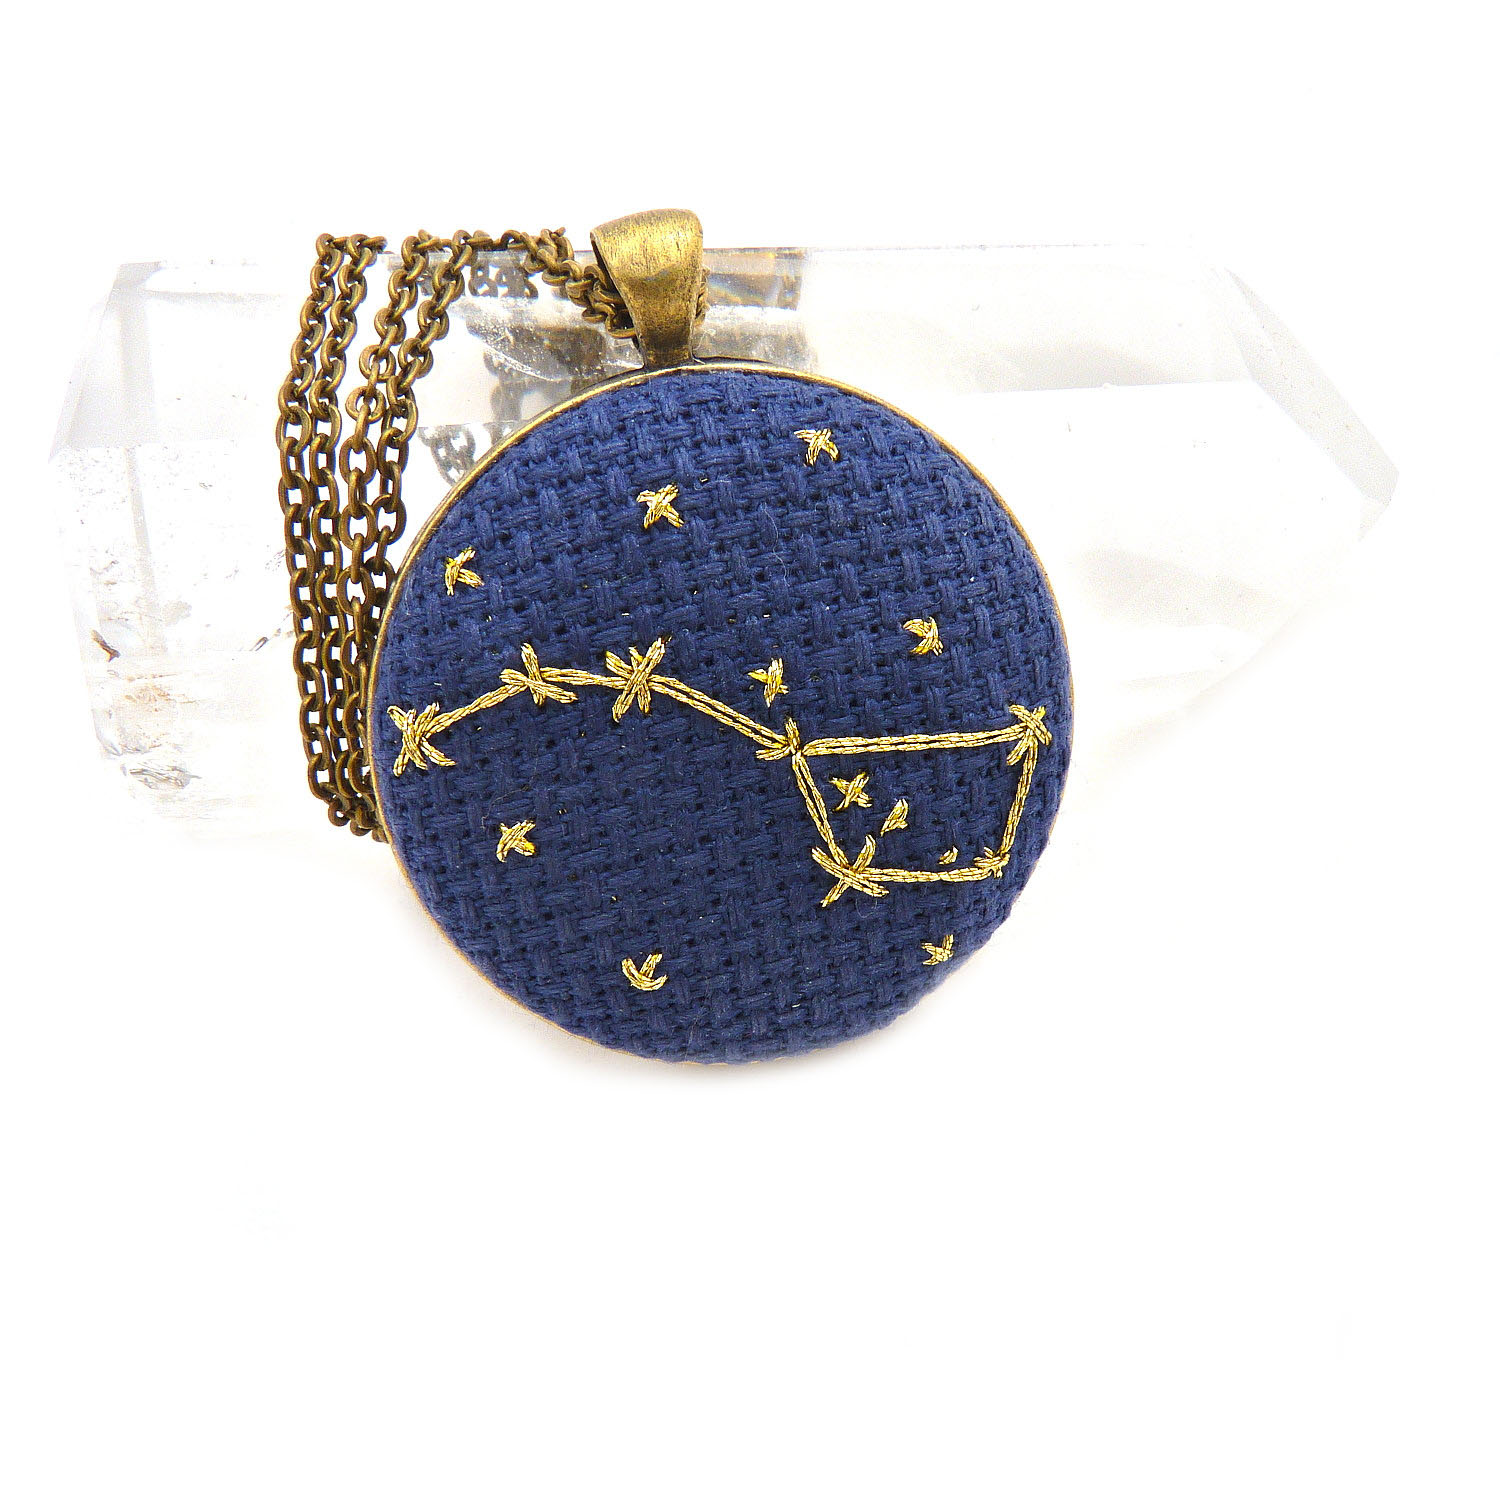
Taking the time to learn best practices for beautiful product photography or budgeting to hire help is a wise investment for any online business. Since online shoppers can't see your work in person, touch it, or try it on, your product photos have to give them all the information they need to make the decision to buy. Once you have a collection of well-lighted and clear photos of your designs, you can use these photos for everything from your line sheets to sending out to wholesale inquires and press releases.
Believe it or not, you can get pretty far with product photography on a shoestring budget with a few simple steps. Here are my best practices for DIY product photography:
Shoot Outside, If Weather Permits
I only shoot my product outside. Shooting inside with lights can work well in bad weather, or if your schedule doesn't allow you to take product photos until late at night when you're home from work. But lights always give a yellow cast.
Shooting outside with a light box between the hours of noon and 2 p.m. protects the shots from glaring shadows but illuminates your designs without a yellow cast. Shooting inside with lights is okay, but realize you will have to do a lot more work in your photo editing software to create accurate colors and get rid of the yellow haze.

How To Build an Artist Website
Sign up for our newsletter and get the book How to Build an Artist Website for free!
Build a Light Box
It's easy, I promise. A light box is essentially a cut-out cardboard box covered with white fabric, lined with white Bristol board paper, and well-lit with daylight light bulbs. It allows you to take bright photos indoors at night, on days when it's too dark and gloomy to shoot outdoors, or in the winter when bright daylight might be rare in your area. I built my own and there are many online sites that offer great tutorials. I like this one.
Get to Know Your Camera
Here's some good news: You don't need to invest in a fancy camera to take great product photography shots. I use a standard point-and-shoot on a close-up preset, and with great apps like ProCamera, you can even use your phone. Whatever you use, give yourself an afternoon to learn all that your camera can do. Figure out what preset you like the best. If you want to go manual, decide which settings work best for your designs. (In the market for a new camera? Check out these tips for choosing the model that's right for you.)
Start With a Basic White Background
This might seem counterintuitive, especially since part of the job of product photography is to tell the story of your brand. But when it comes down to it, bloggers and editors want images with white backgrounds. This will be relatively easy with a light box, plus editing is simple on bright white when it comes to removing smudges, dust and shadows. One of the purposes of product photography is for bloggers and editors to be able to grab your photos and easily edit them into a photo spread or blog post. Keeping everything on a white background essentially makes it easier for them to promote your work, and who doesn't love that?
Choose Minimal Props to Give Scale
Props can help tell the story of your brand, but they also provide a very important bit of information to the buyer. They help the customer identify the scale of your product. Using a single prop like a book, a stone, or even a piece of pottery can help communicate your brand's image while letting your potential customers know that your print is about the size of a paperback book, or your earrings are about the length of a teacup. (For more ideas on how to stage your product photos just like you'd stage a house for sale, check out this IndieMade resource article.)
Shoot, Shoot, Shoot
Don't be shy when it comes to the number of shots you take per design. Sometimes I can take as many as 100 or so per necklace or bow tie. I aim for getting four distinct shots with each design: a straightforward shot, a close-up, a shot with a prop, and a shot from an angle.
Edit Wisely
I am a big fan of Photoshop and use the eraser tool like crazy on my product photography, but there is a lot you can do with photo tools like iphoto, Picmonkey, and Photoshop online (it's free). Whichever you choose, take some time to learn how the software works. Play around with the cropping and editing tools until you find a style that you like and works best with your product. I recommend creating two versions of each of your final images, one that is cropped and one that is not. Sometimes editors want a larger image, so it is always good to keep one that can be cropped differently or sent off to a magazine when a wider angle is requested.
Shooting my own product photography has been really rewarding, and it has become of my my favorite parts of creating a new collection. I look forward to shooting everything and the fun surprises that happen through the photographs. Give my best practices a try and let me know how they work for you.
Want some more tips from an expert and how-to photography book author? Check out our interview with Heidi Adnum, author of "The Crafter's Guide to Taking Great Photos," to find out more about how to improve your product shots.


