Whether you’re just testing the crafty waters or you already sell your goods, creating and nurturing a brand is an integral part of the success or failure of your venture! Your branding can help you determine how to package your product memorably, so that customers never forget which artist they bought from. If you haven’t yet found your branding “voice”, here are some tips and a few fun packaging ideas to get you started!
Assess your product line and your audience.
Would you classify your goods as modern, cottage, retro, steampunk, cutesy, fresh, or a combination of styles? Once you can narrow down your style to a few key words, you can begin to dream up fun packaging ideas that match your style. If you feel stuck on how to package your product, just take a look at shops that sell similar products, or just shops you identify with.
Who are your customers and what other shops do they frequent? It helps if you can narrow down your customer base to something like, “Retro-Modern moms, shop at farmer’s markets, wear Campers, love orange”, or “Late 40s, extra income, love shabby chic knickknacks”.

How To Build an Artist Website
Sign up for our newsletter and get the book How to Build an Artist Website for free!
Now that you’ve identified the general style of your product you’re ready to decide how to package your product. Here are a few fun packaging ideas to get your creative mojo working!
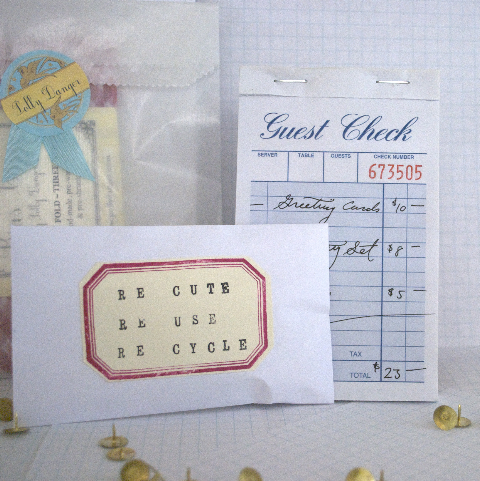
Stamped Message Labels
Materials: Beveled stamp and sticker paper or beveled edge labels, rolling alphabet stamp
- (If using beveled labels skip to step 2) Using red ink, stamp your labels onto a sheet of sticker paper. Create a message with your alphabet stamp and test on a piece of scrap paper.
- Center and stamp your message in the frame. Repeat for all labels.
- Let your labels dry thoroughly before cutting them out.
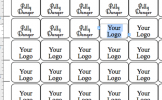
Round sticker labels:
Materials: Sticker paper, printer, 1 1/2” circle punch.
- Open a word processing document like Word or Pages.
- Use the shapes tool to create a circle 1 3/4” across. Adjust the color to your liking.
- Create a text box choose a font that suits your style, type your shop name or other text and adjust font size to fit about 1/8” smaller, all around, than the diameter of the circle. Alternatively you can design this element in a design program, or draw the design and scan it.
- Once your circle is filled, copy and paste so that your circles are about 1/8” apart.
- Print. Make sure your printer setting is “borderless”.
- After you’ve printed your circles, use your circle punch to make dozens of circular labels!
Official Paperie Receipts and Notes:
Materials: Any pre-printed, official-looking pad of paper will do.
- Use official paperie like waiter’s food tickets or sheets ripped from a ledger book to write receipts, send thank you notes, or wrap precious items.
- Your best handwriting is the trick to making this project fabulous!
